Survival: Homemade snowshoes
This article was originally written in Norwegian. You can read a machine translated version here.
Most survival manuals have a section showing the construction of snowshoes . Here we have built and show a selection of the most common types and tested them against each other.
For the impatient, we present the findings first:
- Snowshoes are not something you can build in the field in half an hour to move on . It takes many hours.
- Snowshoe versions 3 and 4 were the most suitable for walking longer distances with.
- Version 1 is the only way to build real emergency snowshoes to get out of an area should one have broken skis, or cover a smaller area. These are also well suited for children around a cabin, for play, etc.
TOOL.
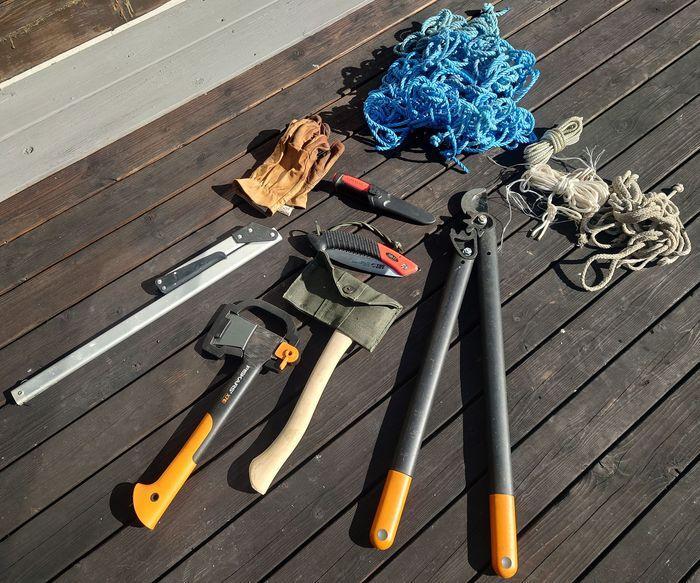
As tools we only used equipment that is available in the field, found at cabins or at home. At a minimum, you need a knife and a piece of rope.
In addition to that, it was tested with an axe, saw and garden shears.
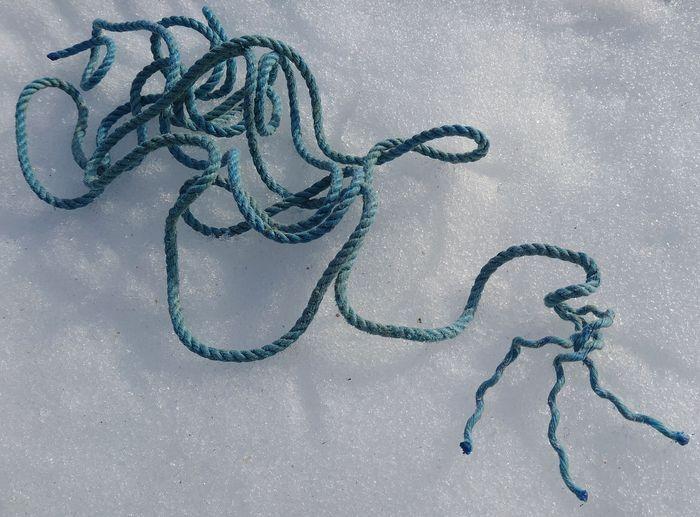
Twisted nylon rope is suitable for tying . It can be twisted up and sealed with a lighter or over a fire. Cables were deliberately not used, although it would have made the job considerably easier and had led to even more stable results.
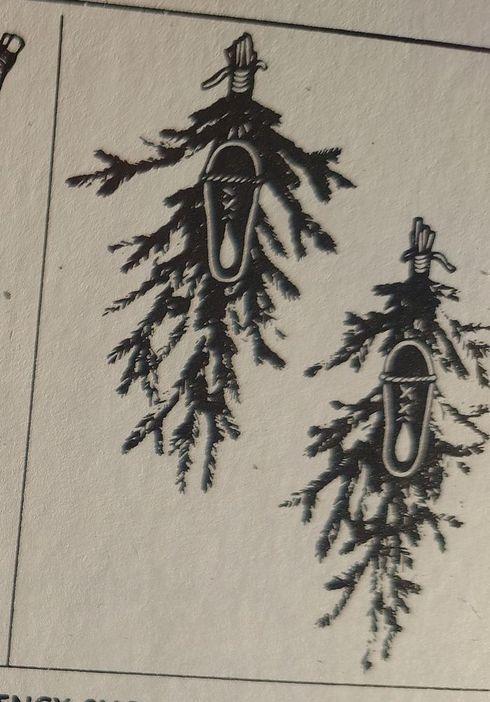
VERSION 1: Emergency snowshoes (partially recommended).
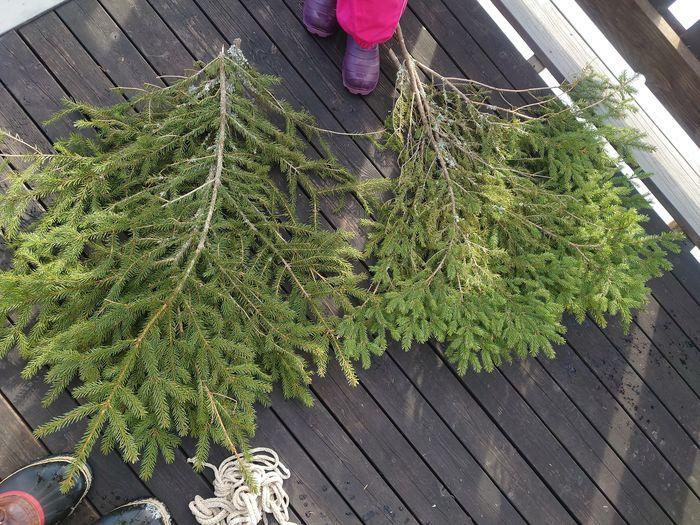
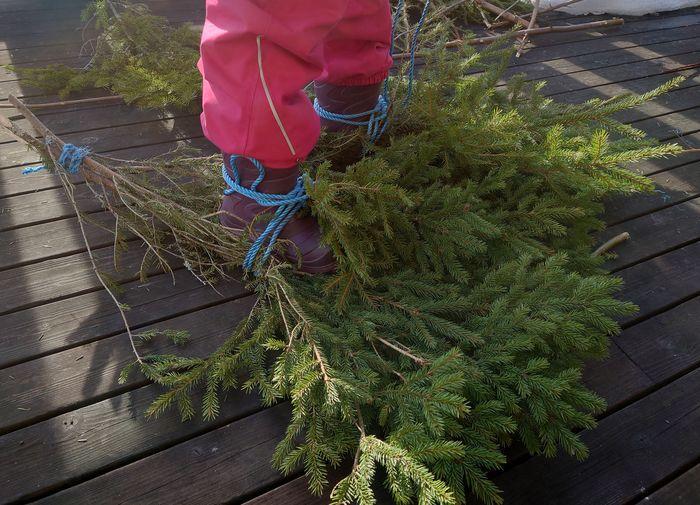
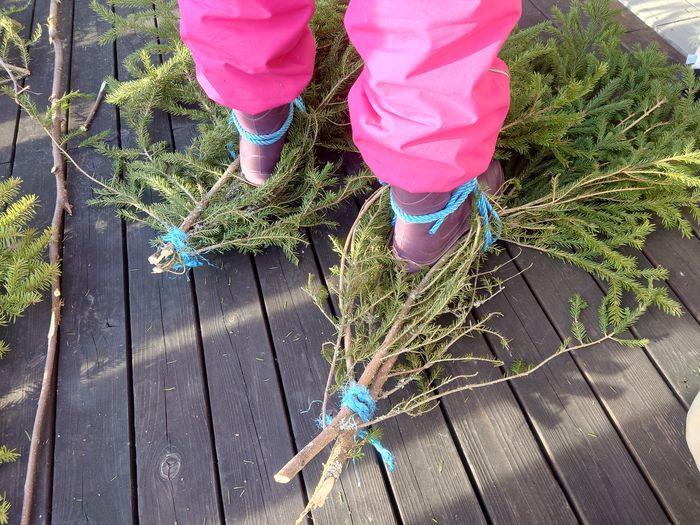
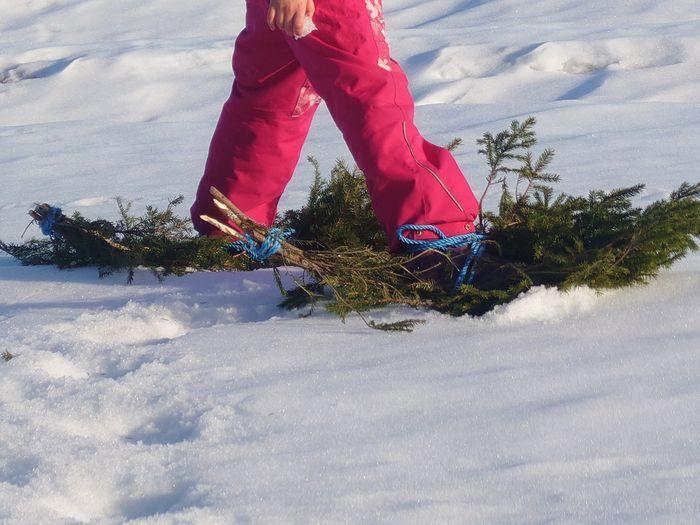
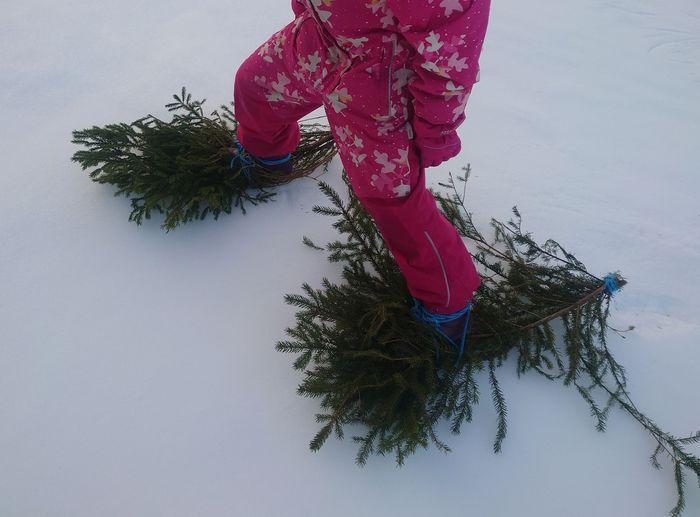
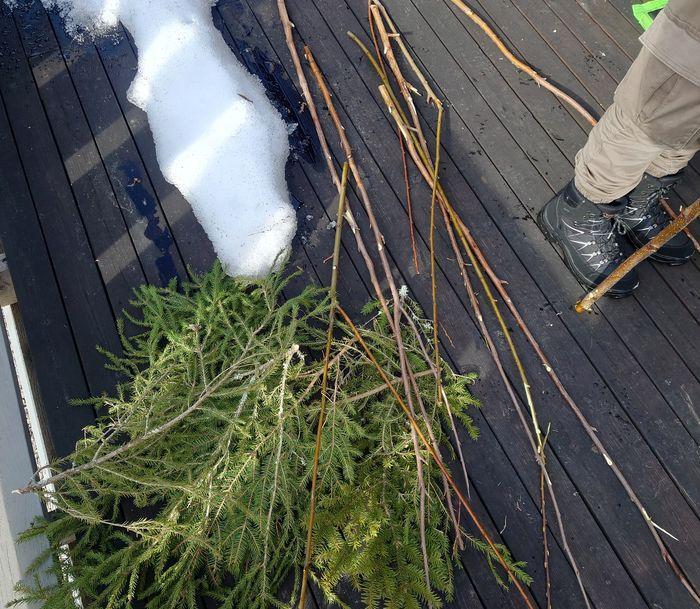
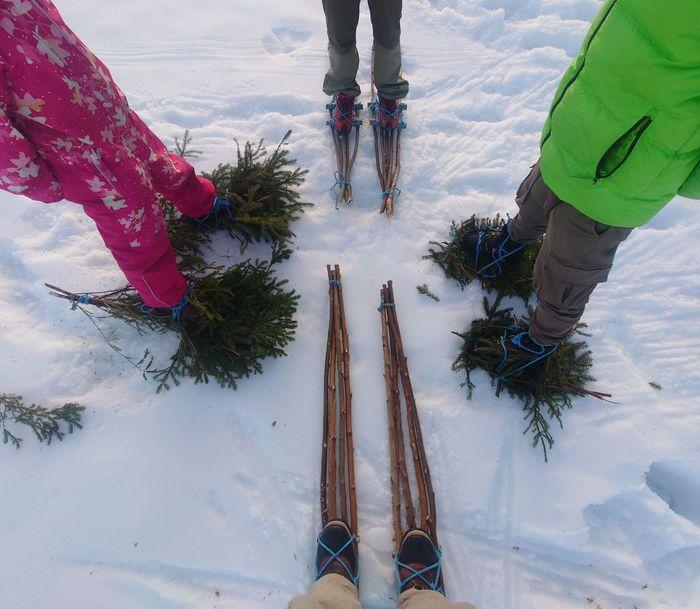
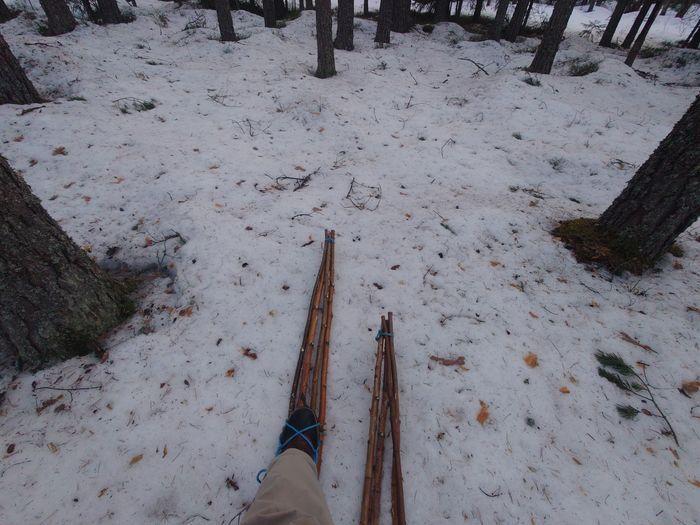
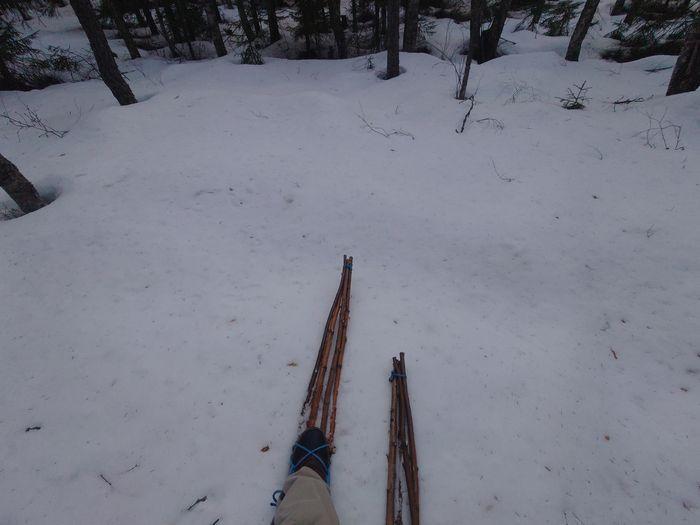
Find spruce branches , preferably densely grown. Slightly longer than the shoe.
Survival manuals recommend having the trunks tied forward. Tests showed that it did not play a big role, quite the contrary, they provide better directional control when they are behind.
The twigs are just tied to the shoe.
Notice the light boat hull shape around the shoes.
Test on terrain:
Even after a race, they fit well together:
VERSION 2: Frame with spruce branches (not recommended)
Choice of materials : Spruce twigs and birch/willow as frame.
The frame is tied together in a bow shape and stretched out with a cross . The construction is reminiscent of the frame you build for traditional smoking of fish over a fire.
The contents are then filled (woven) with fir branches and the whole thing is tied on the feet corresponding to "bearpaw" snowshoes. This may offer an aesthetically pleasing snowshoe, but the construction fell apart after only a short time.
VERSION 3: CANADIAN EMERGENCY SNOWSHOES (recommended).
This is a type reminiscent of old skis (planks), and is the actual form of snowshoes that were widespread around the time of the First and Second World Wars. "Emergency snowshoes" assumes that you have a cabin or at least plenty of time available to build them. If they are built correctly, you can do day stages with them through demanding terrain. Something you cannot do with the other snowshoes shown in this how-to.
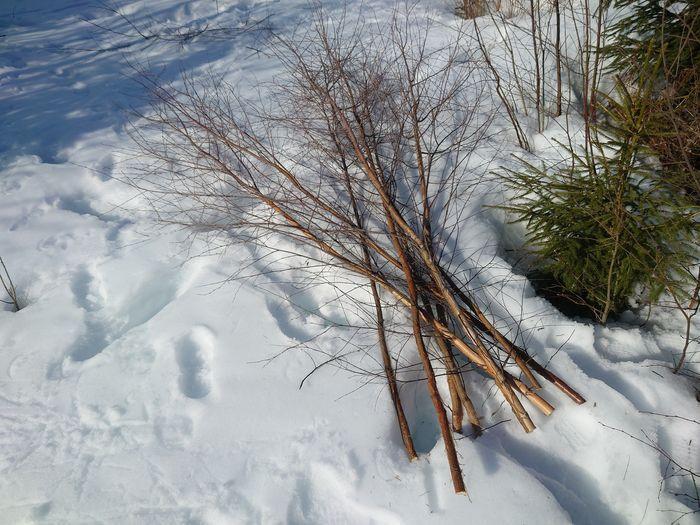
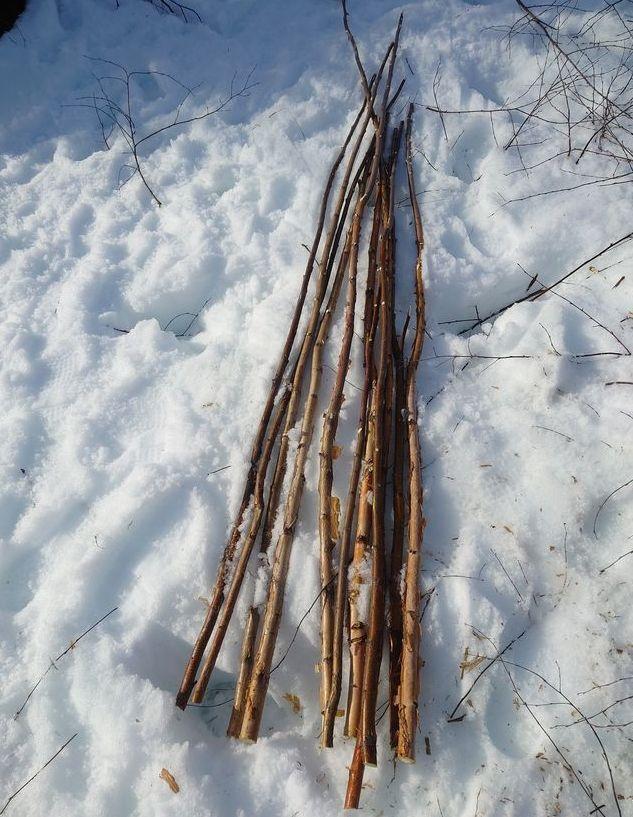
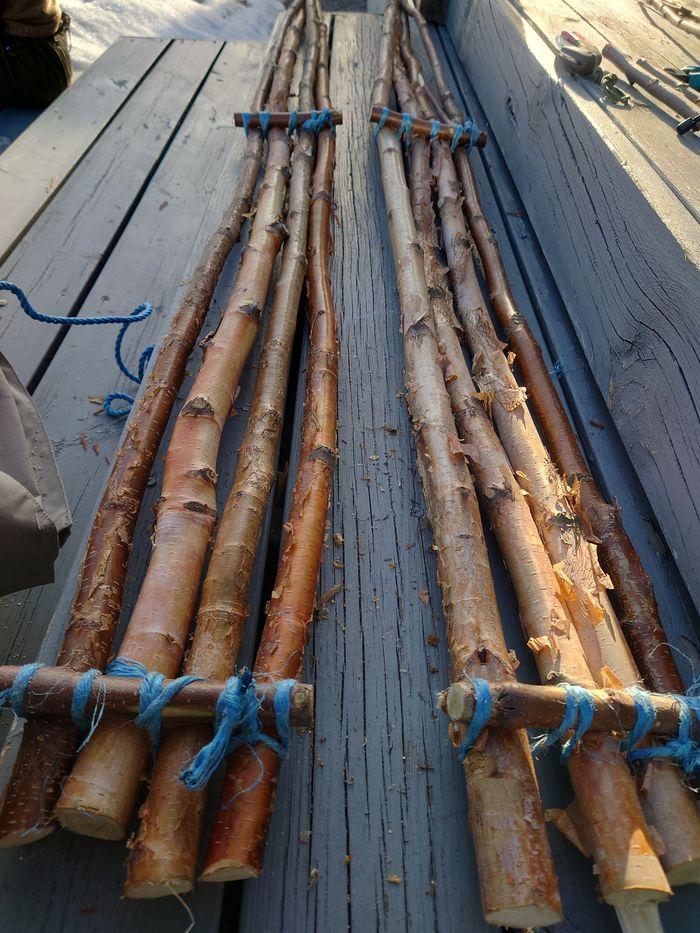
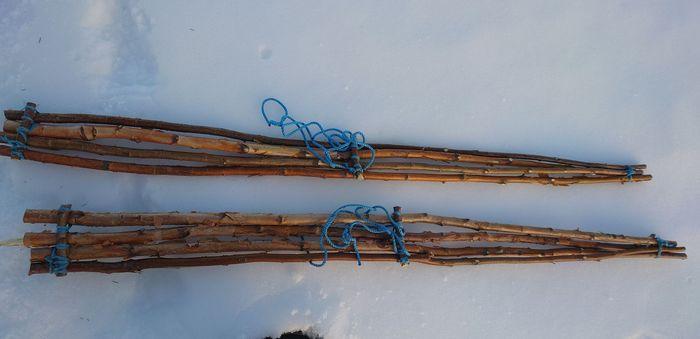
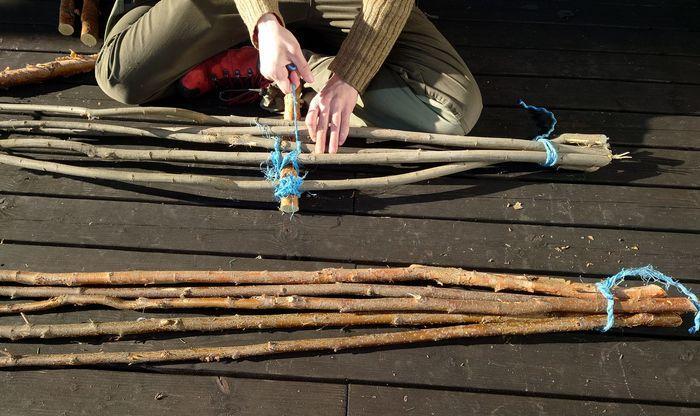
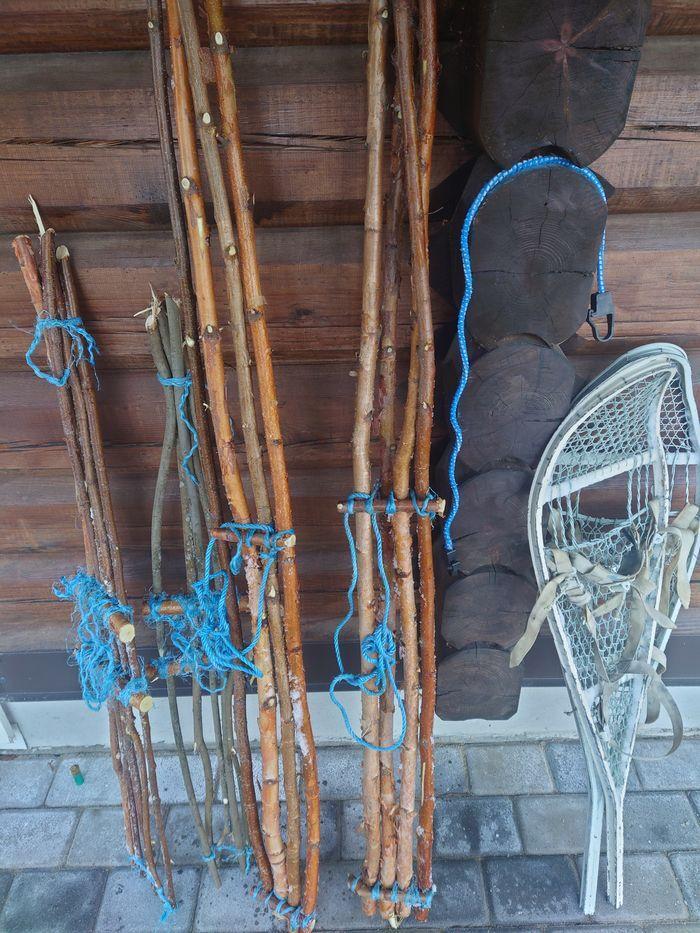
Choice of material : Poles made of birch or willow in body length. 4 pieces per snowshoe plus the short to transverse parts.
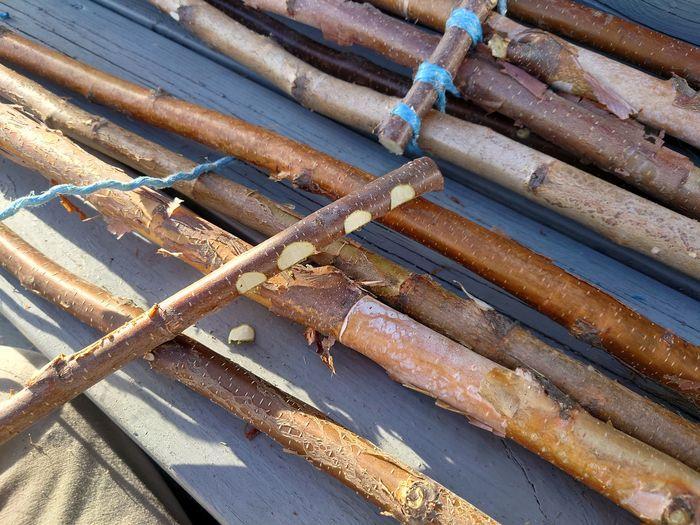
Finished twigs.
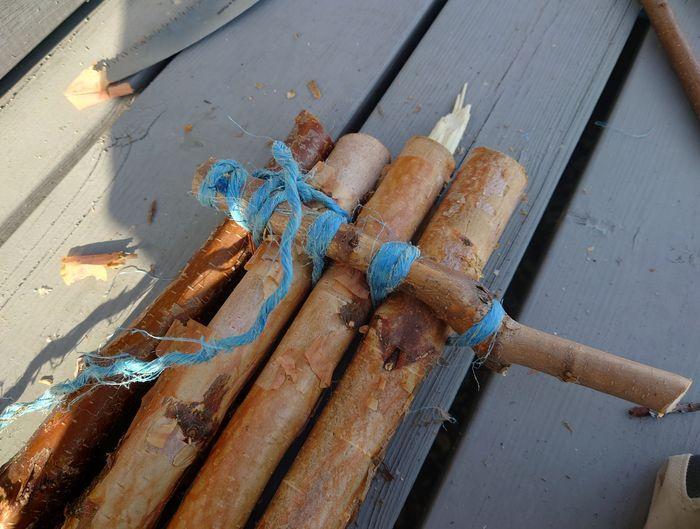
The end is tied together.
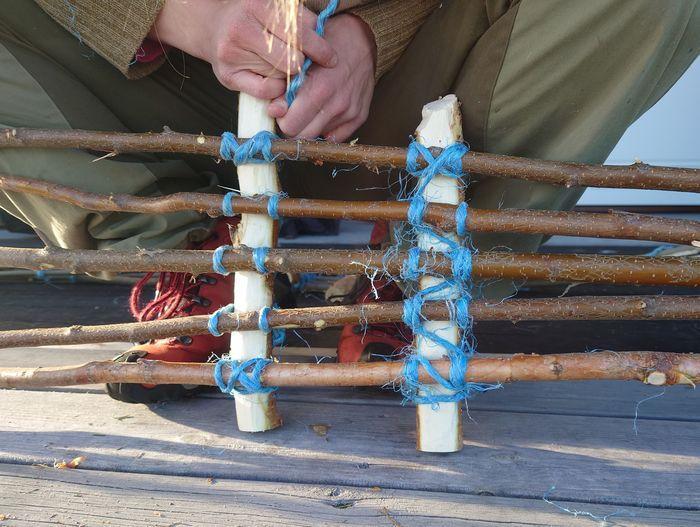
Making grooves help significantly to get better contact and more friction.
A minimum of one cross brace at the end and one in the middle, although the original recommends 3 for the forefoot and 2 for the heel in addition to end tables.
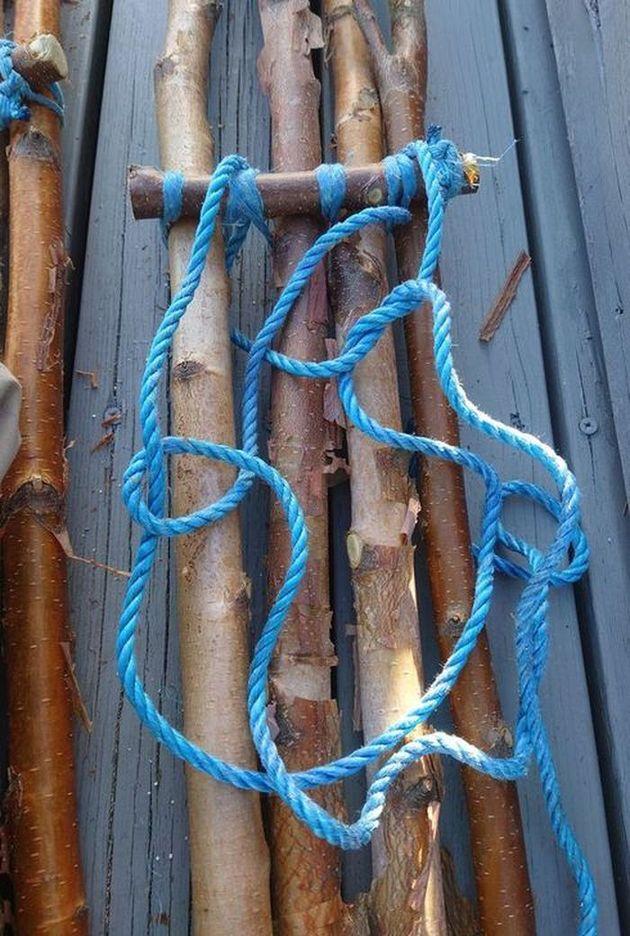
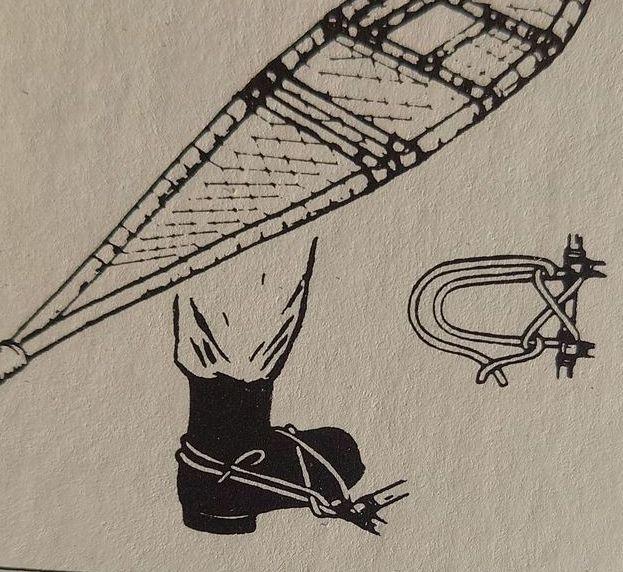
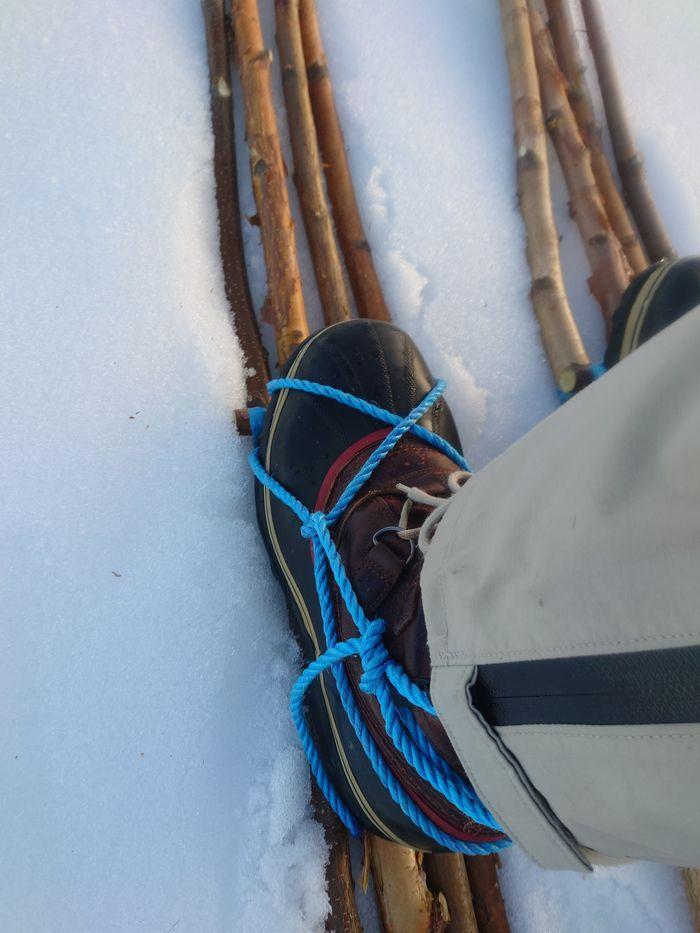
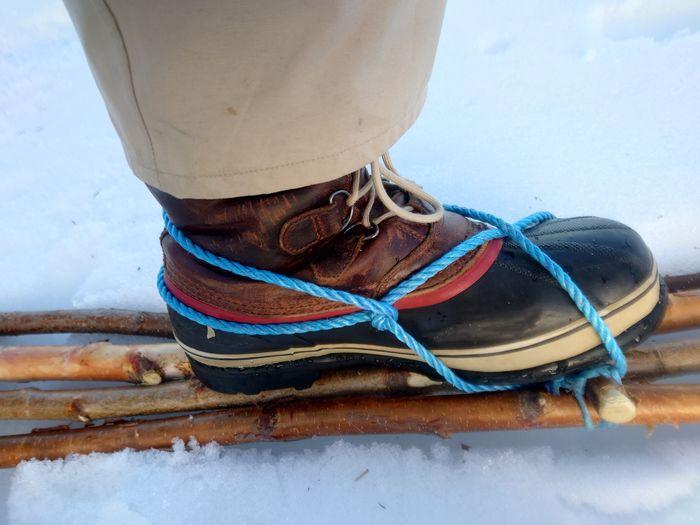
The binding consists of 2 loops that grip each other and create a surprisingly firm binding that secures the forefoot around an axle and with a loose heel. This can also be used if the binding on skis breaks or on commercial snowshoes that suffered damage to the binding.
For a better explanation, a drawing: Study the routing of the rope loops carefully.
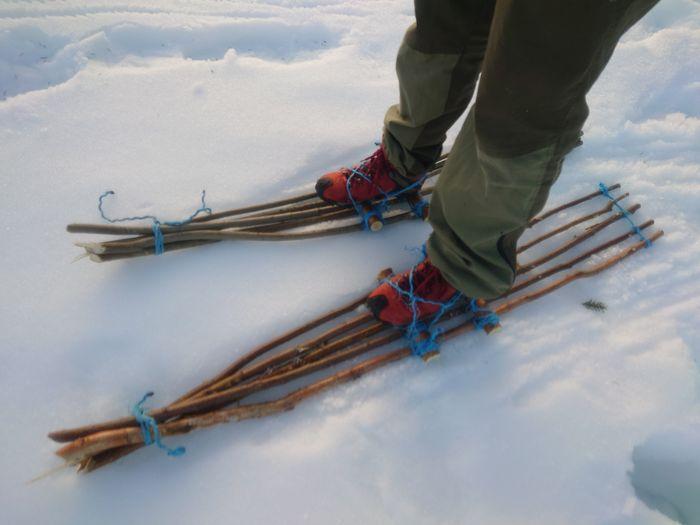
Finished snowshoe with bindings and gathered toe. It should ideally be slightly bent upwards, but works well as is. The center of gravity of the binding is slightly in front of the middle, so that the tip lifts first and the end is dragged over the ground. This provides good directional stability and the tip does not dig into the snow.
The binding in place with winter boots:
VERSION 4: Mountain snowshoes (recommended)
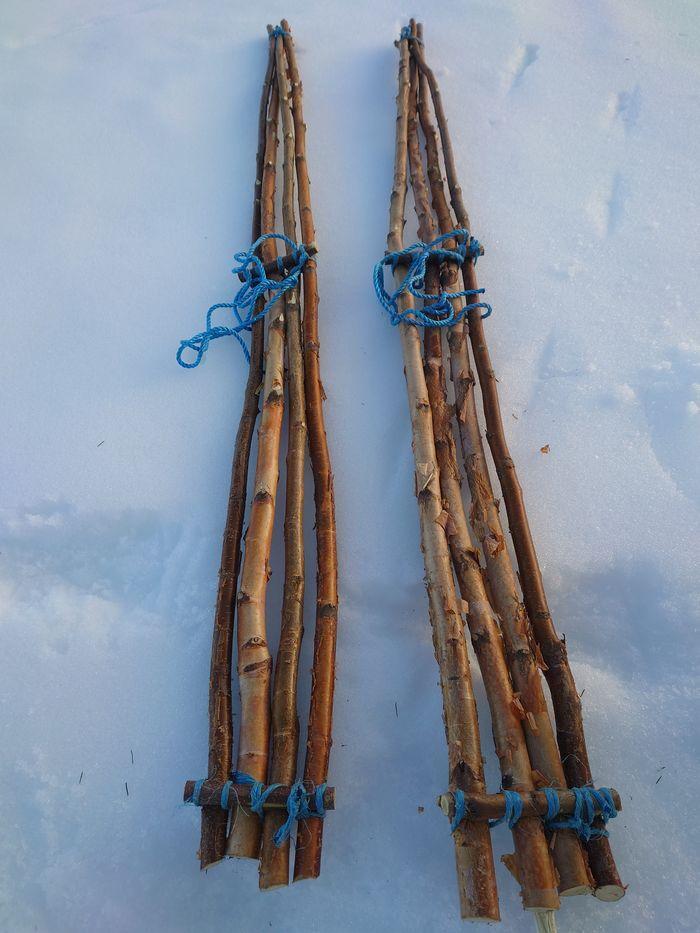
This version differs from the previous one in that it is much shorter than version 3 (Canadian Emergency Snowshoes), but wider. This makes it easier to maneuver in dense mountain or forest terrain or around the cabin.
Choice of material : Both birch and willow are suitable. 5 hip-length bars per snowshoe plus material for the transverse elements. For testing purposes, a snowshoe was built with each type of wood without any noticeable differences.
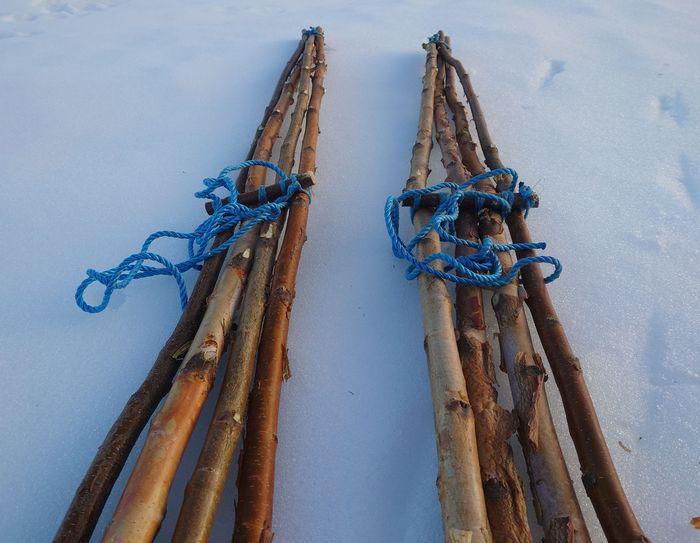
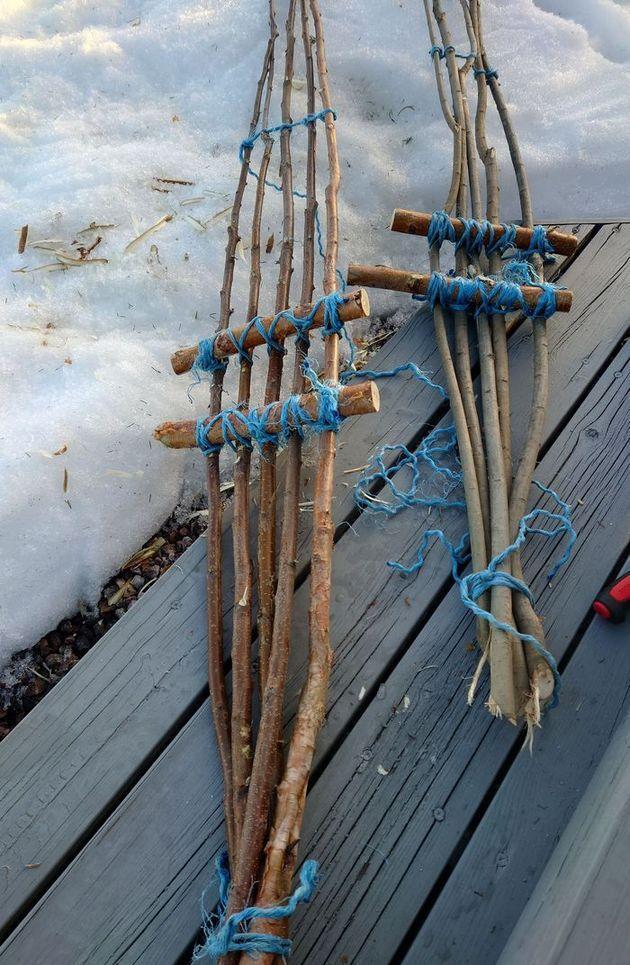
Here, the ends are tied together first and the pivot point (under the foot) stretched outwards.
Two transverse spacers provide good stability which made this version win our test.
The end that spreads outwards is tied together with a stump of rope so that the end points slightly inwards.
Finished mountain snowshoes. As the binding, the same type was used as in version 3, corresponding to a cross-country binding with a loose heel.
TEST AND SUMMARY
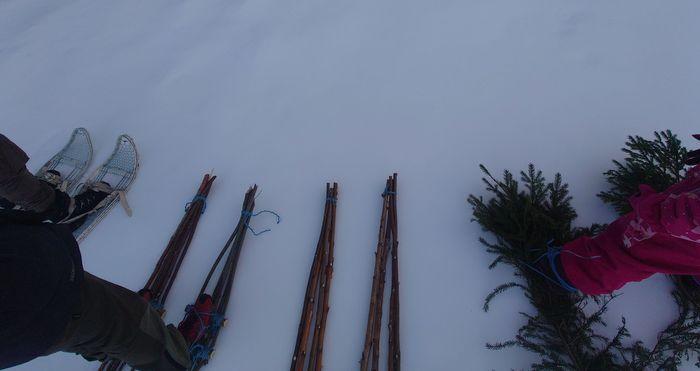
As previously mentioned, only models 3 and 4 can be recommended for "real" snowshoes. Version 1 works for short term use but wins in that they are very quick to build. Version 2 broke and was fragile and beyond repair.
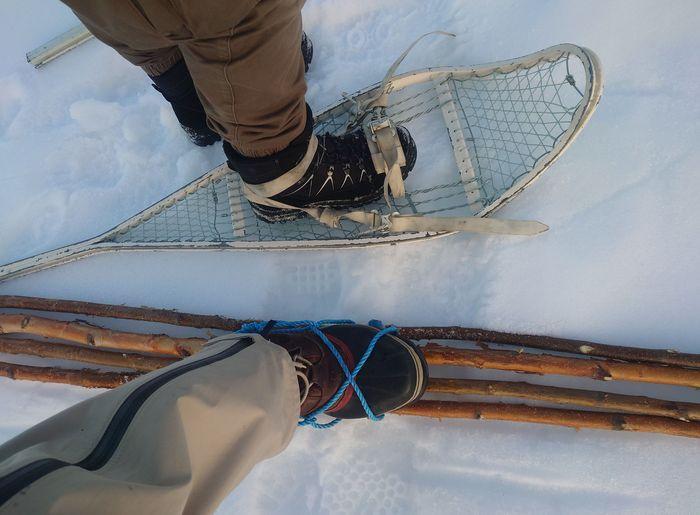
Canadian Emergency Snowshoes can - properly built - be a serious alternative to real snowshoes. They have the same carrying capacity and almost the same comfort, but are heavier.
A race revealed the final winner (see above) and put extra strain on the snowshoes.
Although version 3 (Canadian Emergency Snowshoes) worked in forest terrain, version 4 (Mountain Snowshoes) is best suited. The only drawback was that vegetation sticking through the snow can get caught in the lacing at the very back.
Even on climbing/falling terrain they worked just as well as commercial snowshoes and you almost get a feeling of mountain skiing in the terrain (without slipping).
Two versions of the self-built snowshoes survived the test rides.
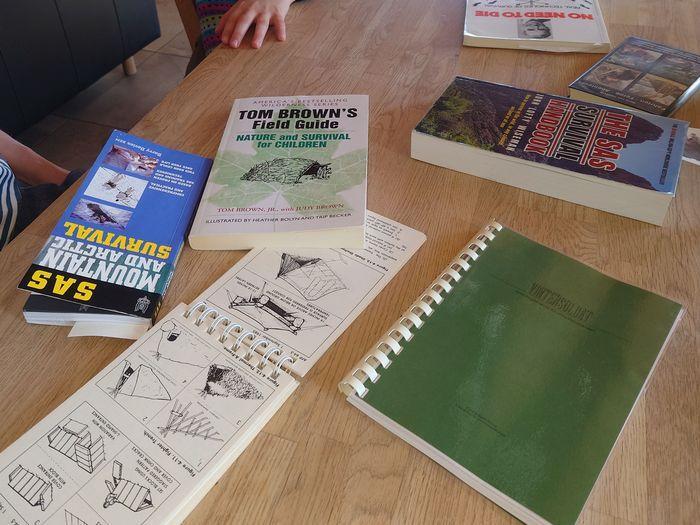
Used literature for building snowshoes and moving around in the field:
- SAS Mountain and Arctic Survival
- Tom Brown's Field Guide - Nature and Survival for Children
- The SAS Survival Handbook
- Andy McGee - No Need to Die
- AF 64-5 Aircrew Survival Manual
- Fahrten-Ferne-Abenteuer: Das Survival- und Fahrtenhandbuch für alle Pfadfinder, Waldläufer, [...]
- Vintersoldat - Swedish Armed Forces.



All comments are moderated before being published. Your email will not be visible